 how-to
How to Prepare Your Property for ADU Utility Connections
Last Updated: November 4, 2026
Quick Summary
Preparing your property for ADU utility connections starts with confirming zoning and a utility-ready site plan, then surveying existing sewer, water, and electrical capacity. Run an ADU electrical load calculation early, decide between separate or shared meters, and confirm trenching depths and easements before you dig.
- A utility-ready site plan must mark water, sewer, electrical routes, and easements.
- A small gas-appliance unit with a mini-split may fit on a 100-amp service.
- Separate meters suit rentals but raise ADU utility connection costs.
- Confirm both local code and utility provider trenching depth requirements.
- Trenching near gas lines and sewer tie-ins belongs in professional scope.
Table of Contents
- Step 1: Confirm Zoning and Pull Your ADU Site Plan Requirements
- Step 2: Survey Existing Utility Infrastructure and Capacity
- Step 3: Run an ADU Electrical Load Calculation
- Step 4: Decide Between Separate vs Shared Utility Meters for Your ADU
- Step 5: Plan Trenching, Easements, and Utility Trenching Depth
- Step 6: Budget Your ADU Utility Connection Costs and Impact Fees
- Step 7: Know the DIY vs. Professional Scope Before You Dig
- Order Permit-Ready Utility Plans from QuiPlans
- Frequently Asked Questions
Step 1: Confirm Zoning and Pull Your ADU Site Plan Requirements
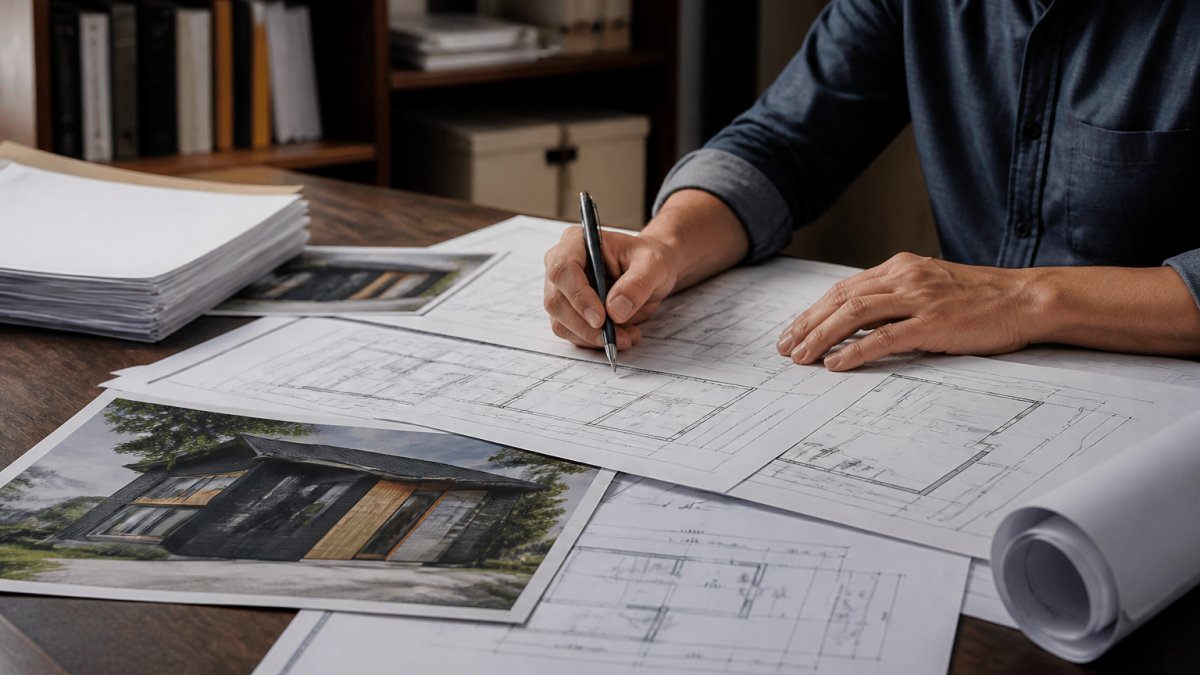
Before you dig, you need local approval. Preparing your property for ADU utility connections starts with zoning and a site plan that a plan reviewer will accept.
Zoning sets the rules: setbacks, height, lot coverage, and where utilities can run. Your building department then wants a site plan that shows exactly how the unit connects to water, sewer, and power.
What a Utility-Ready Site Plan Must Show
A utility-ready site plan shows the lot, the main house, the ADU footprint, and every connection point. It also shows distances and depths.
Your plan should mark:
- Property lines and setback requirements
- The proposed ADU footprint and floor plan outline
- Water supply line route from the main
- Sewer lateral route and connection point
- Electrical service panel location and conduit path
- Utility easements crossing the lot
Pull your local zoning ordinance and the building department's submittal checklist first. For a deeper walkthrough of the approval path, see how to get ADU zoning approval.
Step 2: Survey Existing Utility Infrastructure and Capacity
A utility connection only works if the existing system can carry the added load. Survey what you have before you plan anything new.
Start with a property survey and the utility service provider's records. Then check three things in person.
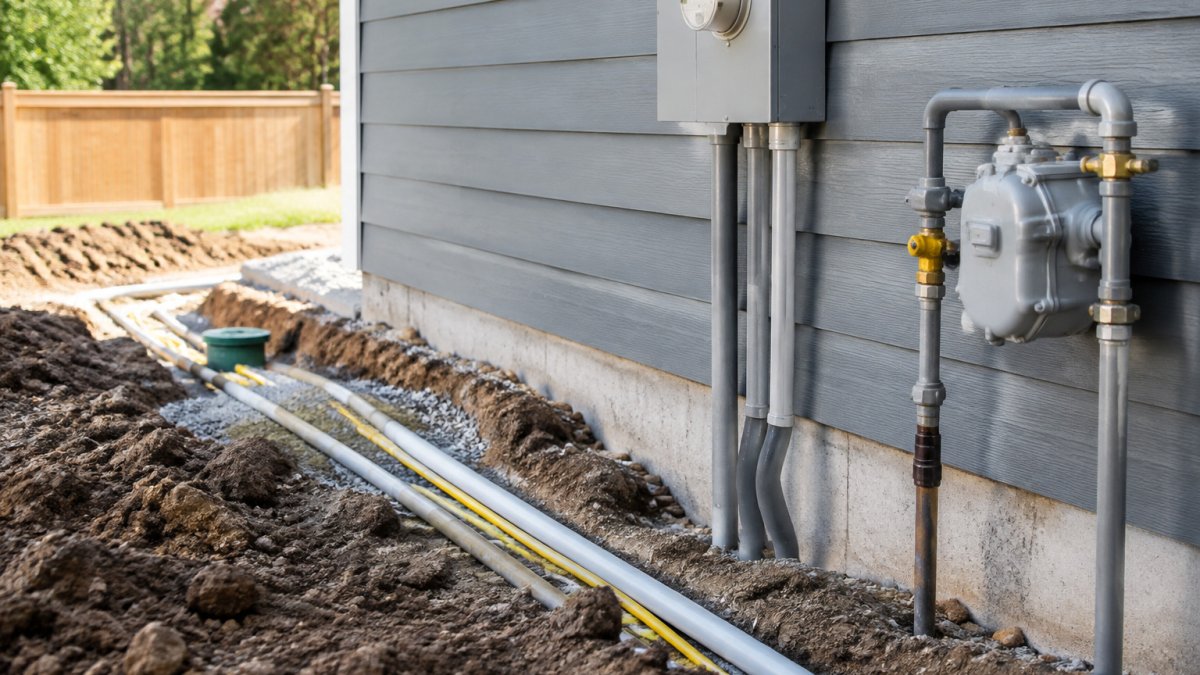
Checking the Sewer Lateral, Water Supply Line, and Electrical Service Panel
The sewer lateral is the pipe running from your house to the public sewer main. Confirm its size, material, and depth.
The water supply line needs enough pressure and flow for two households. Note the pipe size and where it enters the house.
The electrical service panel tells you how much capacity is left. Look at the main breaker rating and open slots.
A utility capacity assessment answers one question: can the system serve the ADU as built, or does something need replacing?
Step 3: Run an ADU Electrical Load Calculation
An ADU electrical load calculation adds up every appliance and device the new unit will run. It tells you whether the existing service can handle the load or needs an upgrade.
The calculation covers lighting, outlets, heating and cooling, water heating, and any large appliances. A licensed electrician or engineer performs it using the standard method in Article 220 of the National Electrical Code.
A common mistake is guessing. Homeowners assume a small unit draws little power, then discover the panel is maxed out.
What the Load Calculation Actually Measures
The electrician starts with the existing service rating, usually the main breaker amperage. Then they total the existing house load and add the proposed ADU load.
For a typical ADU, the biggest drivers are usually:
- HVAC: a heat pump or mini-split system often draws more than everything else combined
- Water heating: tankless electric units can pull 30 amps or more on their own
- Range or cooktop: electric ranges are a major load; gas ranges are not
- Dryer: electric dryers add a dedicated circuit
- EV charging: if the ADU will have a charger, plan for it now, not later
A small unit with gas appliances and a mini-split may fit on a 100-amp service. Because a tankless water heater can add substantially to an all-electric unit’s load, account for its electrical requirements alongside the other demands before scheduling water heater installation.
The Result Decides Your Path
The calculation produces one of three outcomes:
- Load fits: add a circuit or electrical sub-panel from the main service
- Load exceeds capacity: upgrade the service, often from 60-amp to 100-amp or higher
- Amperage requirements unclear: get a load calculation before buying any equipment
Get this number early. It shapes your budget and your trenching plan, because the conduit size and trench route depend on the service amperage you land on.
A Pre-Assessment Checklist Before You Hire an Electrician
You do not need to run the NEC calculation yourself, but you can gather the inputs that make the electrician's job faster and your quote more accurate. Before you call, collect:
- The main breaker amperage and the panel's bus rating (printed inside the panel door)
- A photo of the panel with the cover off, showing open slots and breaker labels
- The nameplate ratings of the existing large appliances (HVAC, water heater, range, dryer)
- The proposed ADU appliance list, including whether HVAC, water heating, and cooking will be electric or gas
- The utility service provider's meter and service entrance details
Watch out: a load calculation that ignores future EV charging or a planned hot tub will pass review today and fail the homeowner the moment the new appliance is added. Size the service for the ADU you will actually operate, not the minimum you can get permitted.
Step 4: Decide Between Separate vs Shared Utility Meters for Your ADU
The choice between separate vs shared utility meters for ADU comes down to who pays the bills and how much you want to spend upfront.
Separate meters give the ADU its own billing. That suits rentals and multi-generational setups where costs should stay clear.
Shared meters tie the ADU to the main house service. Setup is simpler and cheaper. The downside is no clean way to split usage.
| Option | Best For | Main Drawback |
|---|---|---|
| Separate meters | Rentals, separate billing | Higher upfront cost |
| Shared meters | Family use, tight budgets | No clean cost split |
| Sub-metering | Landlord tracking usage | Extra equipment to install |
Sub-metering is a middle path. You keep one utility account and install private meters to track the ADU's usage.
Step 5: Plan Trenching, Easements, and Utility Trenching Depth
Trenching is where good plans meet real dirt. Get the route, depth, and easements right, or the whole hookup stalls.
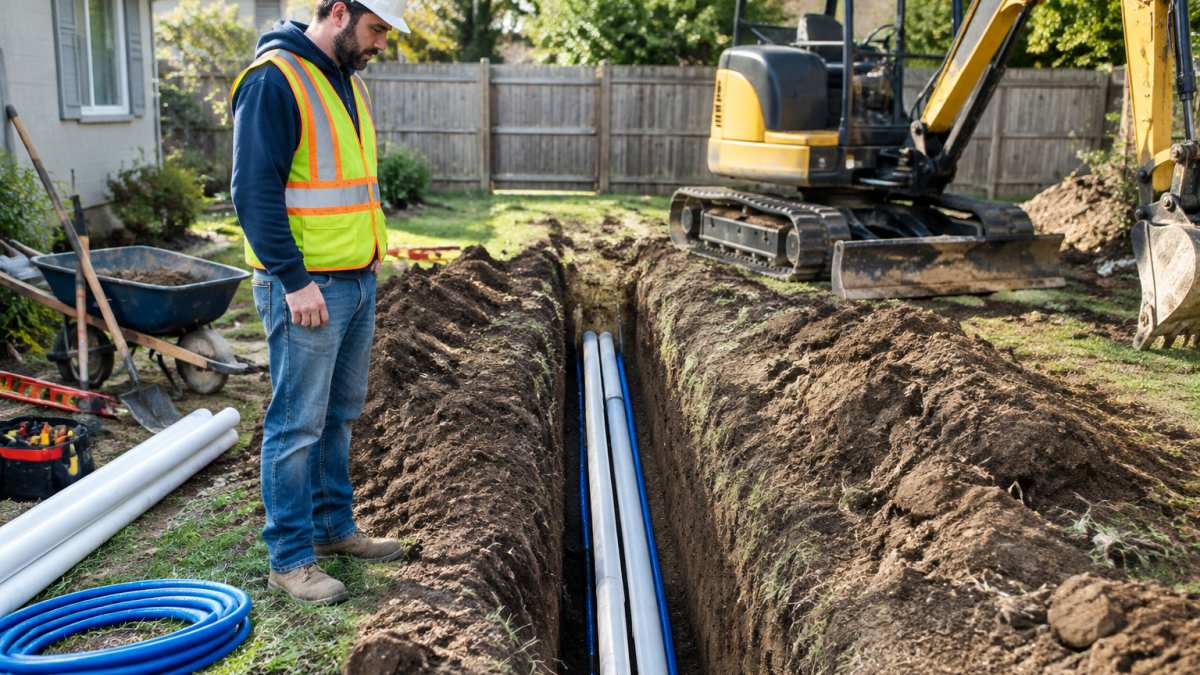
Utility trenching depth matters for code compliance and frost protection.
A utility easement is a legal right for utilities to run lines across your land.
Watch out: digging into an easement without approval can force you to reroute the entire trench, and that cost lands on you.
Before you dig, confirm whether your lot already carries easements. Our guide on verifying ADU easements walks through the check.
Step 6: Budget Your ADU Utility Connection Costs and Impact Fees
Utility work is the line item homeowners underestimate most. Build the budget before you commit to a design, and build it from a capacity assessment rather than from a generic per-foot estimate.
Impact fees are charges a local government collects when new development adds demand on public services. Confirm the current schedule with your building department in writing before you finalize a budget.
Start With a Utility Capacity Assessment, Not a Cost List
Before you request a single contractor quote, walk the property and answer these questions. Each 'no' or 'unknown' becomes a budget line.
- Sewer lateral: Is the lateral at least 4 inches and in serviceable condition? A clay or Orangeburg lateral from an older home may need replacement, which is a separate excavation from the ADU trench.
- Water service: What is the meter size and static pressure? A 5/8-inch meter may not deliver adequate flow for two households; a meter upgrade is a utility charge, not a plumbing charge.
- Electrical service: What is the main breaker rating and how many open slots remain? A 60-amp service almost always requires an upgrade; a 200-amp panel with open slots usually does not.
- Gas service: What is the meter capacity and the size of the existing gas line? Adding a second gas meter or upsizing the line is a utility coordination item.
- Easements: Do any recorded easements cross the proposed trench route? A conflict can force a reroute, and the reroute cost lands on you.
This checklist is the difference between a budget that survives bid day and one that collapses at the first inspection.
The Cost Categories Your Budget Must Carry
Your utility hookup costs typically include:
- Trenching and excavation, including rock or hard-soil contingency
- Pipe, conduit, and fittings
- Electrical service upgrade or sub-panel
- Water and sewer connection charges, including meter and tap fees
- Permit and inspection fees
- Licensed contractor labor
- Restoration of landscaping, driveways, or hardscape cut by the trench
Grading and excavation can swing the total if your lot slopes or has hard soil. Get two or three contractor quotes for the trench and connection work, and ask each bidder to price the same scope so the quotes are comparable. A bid that excludes rock excavation or restoration is not a lower bid; it is an incomplete one.
Where the Money Actually Goes
For a full budget walkthrough, read how to budget for an ADU.
Step 7: Know the DIY vs. Professional Scope Before You Dig
Some tasks are homeowner-friendly. Utility connections usually are not.
Painting, landscaping, and light demo are reasonable DIY work. Trenching near gas lines, electrical service work, and sewer connections are not.
The line is simple:
- DIY scope: site cleanup, marking routes, moving soil after inspection
- Professional scope: load calculations, panel upgrades, gas line extension, sewer and water tie-ins, backflow prevention
A licensed contractor protects you on code compliance and safety. Most jurisdictions require licensed trades for utility work, and inspections will fail unpermitted work.
If the city returns corrections during permit review, professional drawings and engineering support make the fixes faster. Before you commit to the professional path, review the ADU permit approval timeline and steps.
Order Permit-Ready Utility Plans from QuiPlans
The fastest way to clear utility review is to submit drawings that already answer the reviewer's questions. That is what we build at QuiPlans.
Our PE-stamped drawings come from licensed structural engineers across 26 U.S. states.
Our feasibility studies can help identify capacity and easement issues early in the planning process.
You do not have to sort out trench depths and load calculations alone.
Order permit plans on QuiPlans when you are ready to move.
Frequently Asked Questions
Do ADUs require separate utility meters?
Not always. Many jurisdictions allow an ADU to share the main house's water, sewer, and electrical service, especially when the ADU is attached or within a certain size. Separate meters are more common for detached units or when the ADU will be rented long-term, since tenants and lenders often expect independent billing. Check your local zoning ordinance and ask your utility service provider before finalizing plans. Your decision affects trenching scope, panel design, and overall ADU utility connection costs, so settle it early in the design phase.
How much does it cost to connect utilities to an ADU?
ADU utility connection costs vary widely by distance from the main house, trench length, local impact fees, and whether you need an electrical service upgrade. Major cost drivers include trenching and excavation, a new sewer lateral or water supply line, panel upgrades, and utility connection charges from your provider. Because these figures are site-specific, get itemized quotes from a licensed contractor and a fee schedule from your building department. QuiPlans feasibility studies can help you scope the work before you commit to a budget.
How do I determine if my existing sewer line can handle an ADU?
Start with a camera inspection of the sewer lateral to confirm pipe material, condition, and slope. Then compare the existing fixture load against the added load from the ADU's kitchen, bathroom, and laundry. Many older lines were sized for a single household and may need upsizing or a new tap at the main. A licensed plumber or civil engineer can verify capacity and trenching depth requirements. Building departments typically want this documented on the site plan before issuing a permit.
Do I need a site survey before connecting ADU utilities?
In most cases, yes. A property survey establishes setbacks, easements, and the exact location of existing utility lines, which the building department needs to review your ADU site plan requirements. Without it, you risk designing over a utility easement or discovering conflicts during trenching. Surveys also flag grading and excavation issues that affect trench depth. Order the survey early, then share it with your engineer so the utility plan matches real conditions on the ground.