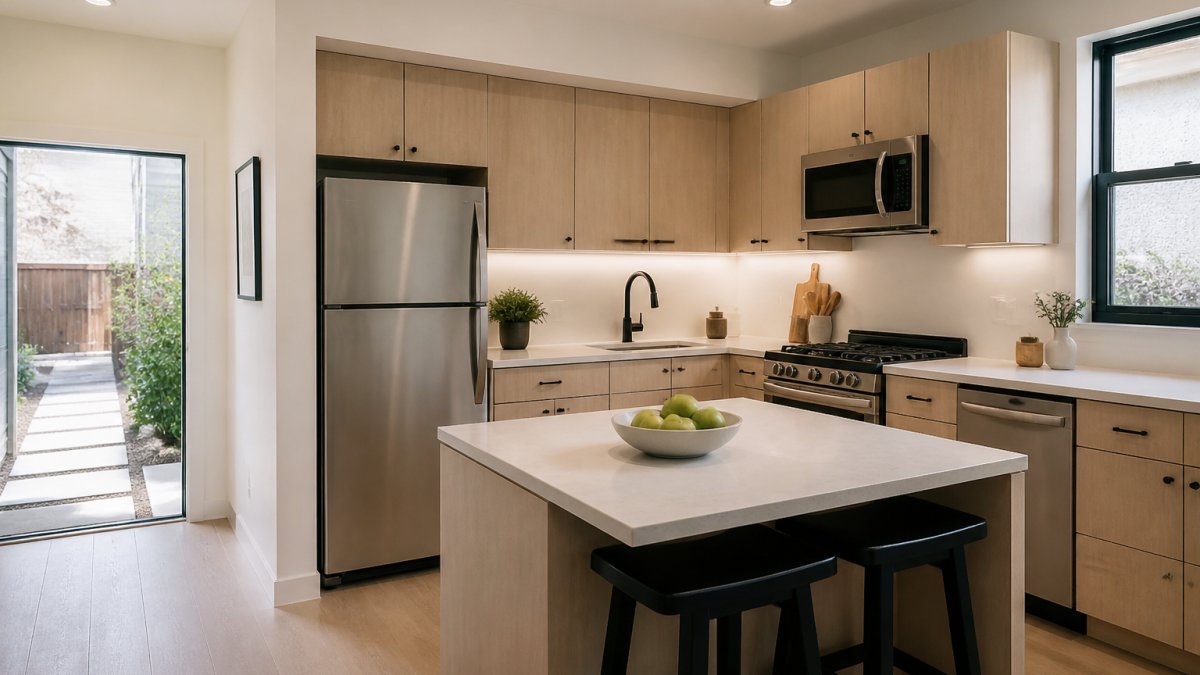
 how-to
How to Design a Functional ADU Kitchen: 7-Step Guide
Table of Contents
- Step 1: Map Your ADU Kitchen Layout Around the Work Triangle
- Step 2: Confirm ADU Building Code Kitchen Requirements Before You Draw
- Step 3: Choose Space-Saving Kitchen Appliances for ADUs
- Step 4: Apply Proven ADU Kitchen Layout Ideas to Your Floor Plan
- Step 5: Plan Storage, Cabinetry, and Multifunctional Furniture
- Step 6: Design Lighting and Electrical for a Small Kitchen
- Step 7: Budget Materials and Add Smart Home Integration
- Conclusion: From Floor Plan to Permit-Ready Drawings
- Frequently Asked Questions
Last Updated: October 4, 2026
Step 1: Map Your ADU Kitchen Layout Around the Work Triangle
Designing a functional ADU kitchen starts with the work triangle: the distance between your sink, stove, and refrigerator. In a small footprint, that triangle should total no more than 13 feet. Get this right and the whole kitchen works. Get it wrong and you will fight your own layout every day.
An ADU kitchen is the cooking space inside an accessory dwelling unit, a secondary home built on the same lot as a main house.
Galley, L-Shape, and U-Shape Layouts for Small Footprints
Three layouts fit most ADUs:
- Galley: Two parallel counters. Best for narrow units under 8 feet wide.
- L-Shape: Two adjoining walls. Leaves room for a small dining table.
- U-Shape: Three walls of counters. Most storage, but needs at least 7 feet between runs.
Each leg of the triangle should sit between 4 and 9 feet from the others. Keep the refrigerator door and oven door from blocking each other. A common mistake is placing the fridge at the end of a galley, where an open door seals off the whole walkway.
Step 2: Confirm ADU Building Code Kitchen Requirements Before You Draw
ADU building code kitchen requirements vary by state and city, so confirm local rules before you finalize any drawing. Most jurisdictions require a sink, a cooking appliance, and refrigeration for a unit to count as a dwelling. Some also set minimum counter space and ceiling height. But the rules that actually stop projects are the technical ones, and most design guides skip them entirely.
The Four Checks That Stop Most ADU Kitchen Permits
1. Permitting and plan review. Submit a floor plan, plumbing rough-in details, and an electrical layout. Most building departments also want a mechanical plan showing ventilation.
2. Electrical load calculation. This is the single most expensive item to get wrong. The National Electrical Code (NEC) load calculation adds up your existing service load plus the new kitchen appliances. A typical ADU kitchen adds:
- Range or cooktop: 8,000-12,000 watts (a 40-amp circuit at 240V is common for a full range)
- Refrigerator: 1,500-2,000 watts on a dedicated 20-amp circuit
- Microwave: 1,000-1,500 watts
- Dishwasher: 1,200-1,500 watts
- Small-appliance countertop circuits: two 20-amp circuits required by the NEC
If the main panel is a 100-amp service, adding a full electric range plus the ADU's other loads often pushes it past capacity.
3. Plumbing and venting. A kitchen sink needs a drain with proper slope, a vent to the roof or an air admittance valve where allowed, and hot/cold supply lines.
4. Ventilation. A range hood must vent cooking moisture and grease outside, or recirculate through a filter. Ducted is better for a kitchen that cooks daily; recirculating is acceptable for light use and avoids cutting a hole in the wall.
Accessibility Is a Code Issue, Not a Nice-to-Have
If the ADU will house an aging parent or a tenant with mobility needs, plan for accessibility now, retrofitting later means tearing out cabinets. Key dimensions most practitioners use:
- Counter height: 34 inches maximum for a seated or shorter user (standard is 36 inches)
- Knee clearance under the sink: at least 27 inches high, 30 inches wide, 11-25 inches deep for a wheelchair
- Walkway width: 36 inches minimum clear, 42-48 inches preferred for a wheelchair turnaround
- Controls: lever handles on faucets, front-mounted appliance controls, and a side-opening oven door
- Reach range: keep everyday items between 15 and 48 inches off the floor
These features cost little when planned into the drawing and a fortune when added later. They also make the kitchen easier for everyone, not just users with disabilities.
Check your local building department's ADU page for the exact list. Requirements differ enough that a plan approved in one city can fail in the next town over.
Step 3: Choose Space-Saving Kitchen Appliances for ADUs
Space-saving kitchen appliances for ADUs trade size for function, not quality. A 24-inch range, an under-counter refrigerator, and a drawer microwave free up more counter space than full-size units.
Compact Ranges, Under-Counter Refrigeration, and Drawer Microwaves
Match each appliance to your layout:
| Appliance | Typical Width | Best For | Watch Out For |
|---|---|---|---|
| Compact range | 24 inches | Galley and L-shape | Smaller oven cavity |
| Cooktop + wall oven | 24-30 inches | U-shape, tall cabinets | Needs separate wiring |
| Under-counter fridge | 24 inches | Any layout | Less freezer room |
| Drawer microwave | 24 inches | Tight countertops | Costs more than countertop |
Measure your doorway and hallway before ordering. A range that fits the kitchen but not the front door is a return waiting to happen.
Step 4: Apply Proven ADU Kitchen Layout Ideas to Your Floor Plan
The best ADU kitchen layout ideas share one trait: every zone has a job. Split the kitchen into a prep area, a cooking zone, and a cleanup zone, then place storage next to each one.
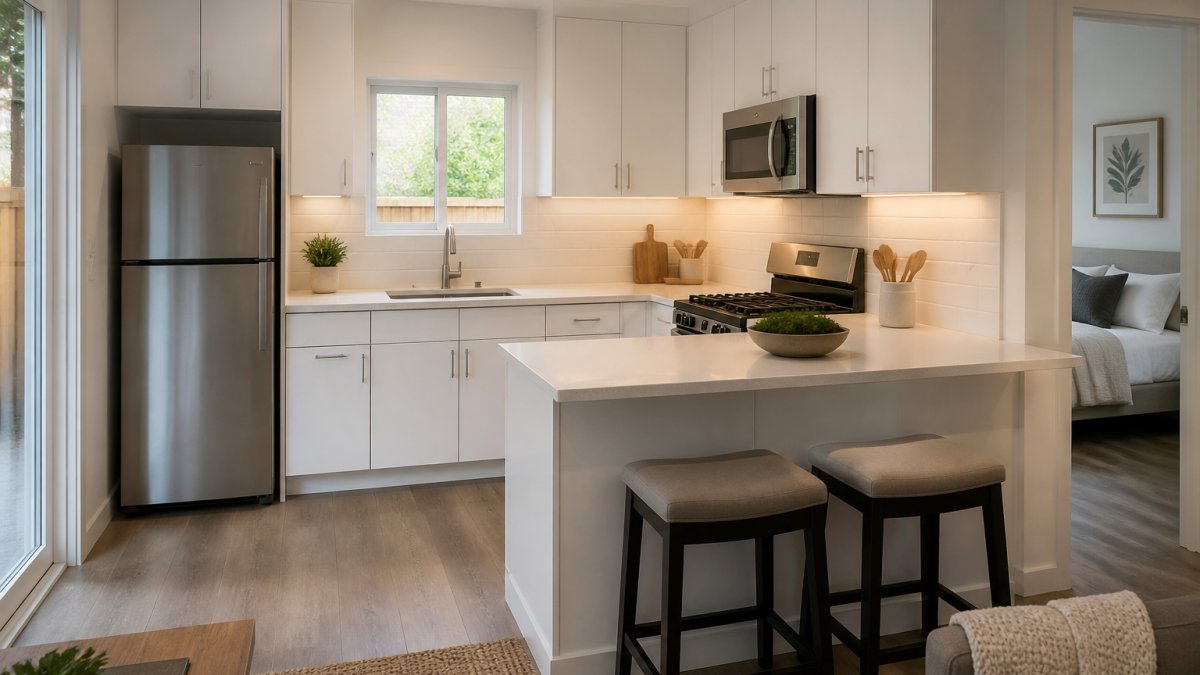
A peninsula often beats a kitchen island in an ADU. It adds counter space without blocking the walkway, and it doubles as a dining table.
Keep at least 36 inches of clear walkway between counters. Below that, two people cannot pass each other, and the kitchen stops feeling functional.
Step 5: Plan Storage, Cabinetry, and Multifunctional Furniture
Storage decides whether a small kitchen feels calm or cramped. Flat-panel cabinets save inches over raised-panel doors, and they read as modern in a compact space.
Build storage in layers:
- Upper cabinets to the ceiling for items you rarely use
- Drawers below the counter for pots and pans
- A pull-out pantry in a 12-inch gap beside the fridge
- Multifunctional furniture like a rolling cart that tucks under the counter
Subway tile on the backsplash keeps the wall easy to wipe down. For countertop materials, quartz holds up to daily use and needs no sealing.
Step 6: Design Lighting and Electrical for a Small Kitchen
Lighting in a small kitchen should come from three layers: overhead, task, and accent. One ceiling fixture is never enough.
Plan the electrical layout at the same time as the cabinets. You need outlets where appliances sit, not where a wall happens to be. Add under-cabinet lighting along the backsplash to light the prep area. It makes the counter safer to work on and the kitchen look bigger.
Place outlets:
- One on each side of the range for small appliances
- One inside or beside the pantry for a charging station
- A dedicated circuit for the refrigerator
Follow the U.S. Department of Energy guidance on appliance circuits when you plan the panel. A dedicated circuit keeps the fridge running when other appliances trip a shared breaker.
Step 7: Budget Materials and Add Smart Home Integration
Budget decisions should follow use, not looks. An ADU kitchen that rents or houses family takes heavy daily use, so spend on surfaces that survive it. Here is what durability actually costs and where the money is worth it.
Cost-to-Durability Breakdown for ADU Kitchens
| Material | Typical Cost per Sq Ft Installed | Lifespan | Best For | Trade-Off |
|---|---|---|---|---|
| Laminate countertop | $20-$50 | 10-15 years | Tight budgets, rental units | Can chip at edges; seams show |
| Butcher block | $40-$80 | 10-20 years (refinishable) | Warm look, light use | Needs oiling; water damage risk at sink |
| Quartz | $60-$120 | 20+ years | Daily cooking, rentals | Not heat-resistant; use trivets |
| Granite | $50-$100 | 20+ years | Heavy use | Needs sealing; heavy to install |
| Ceramic tile backsplash | $10-$30 | 20+ years | Budget backsplash | Grout stains; more cleaning |
| Subway tile backsplash | $15-$40 | 20+ years | Easy-clean wall | Grout still needs sealing |
| Luxury vinyl plank flooring | $3-$8 | 10-20 years | Rental durability | Can gap with temperature swings |
| Porcelain tile flooring | $5-$15 | 30+ years | Wet areas, heavy traffic | Cold underfoot; hard on joints |
For a rental ADU, quartz counters and porcelain tile floors usually pay back in lower turnover costs. For a family ADU where you control the use, butcher block and luxury vinyl plank save money up front without sacrificing much.
Where to Spend and Where to Save
Prioritize spending:
- Cabinet hardware and drawer glides. Touched daily; cheap versions fail first and are annoying to replace.
- Appliances. Mid-range units last longer than the cheapest models and cost less to repair.
- Countertops. The surface you prep on every day.
Save on:
- Backsplash and paint. Easy and cheap to change later.
- Upper cabinet interiors. Simple shelves beat expensive organizers in a small kitchen.
- Lighting fixtures. A basic fixture with a good bulb looks the same as an expensive one.
Smart Home Integration That Saves Space, Not Just Convenience
Smart home tech fits an ADU well because it replaces physical objects with controls. The space-saving wins:
- Induction cooktop. No gas line, faster heating, and a smooth surface you can use as counter space when off. A 24-inch induction unit frees the space a full range would take.
- Compact smart oven. A countertop or wall-mounted smart oven with app control replaces a full-size oven and can double as a microwave.
- Smart plugs on the coffee maker and kettle. Schedule them so they are not left on, and cut phantom load.
- Leak sensors under the sink and behind the fridge. Cheap insurance against the most common ADU water damage claim.
- Smart thermostat. Cuts utility bills in a rental where you do not control tenant habits.
Check the U.S. EPA WaterSense program for water-saving fixtures that cut utility bills in a rental unit, and the U.S. Department of Energy appliance standards for efficiency ratings before you buy.
Conclusion: From Floor Plan to Permit-Ready Drawings
Every ADU kitchen project hits the same wall: a great layout that cannot pass plan review. The fix is engineering that matches your local code from the start.
QuiPlans provides permit-ready ADU floor plans and PE-stamped drawings from licensed structural engineers in 26 states. Our feasibility studies confirm your layout and utility loads before you draw, and our team supports you through construction administration. Trusted by more than 7,000 homeowners, we help you move from concept to construction with confidence.
Get started with QuiPlans and turn your ADU kitchen plan into permit-ready drawings.
Frequently Asked Questions
What are the minimum requirements for an ADU kitchen?
An ADU kitchen typically needs a cooking appliance, a sink with running water, a refrigerator, and counter space for prep. Building codes in most jurisdictions require a minimum clear floor area, proper ventilation through a range hood or exhaust fan, and dedicated electrical circuits for major appliances. Some states also mandate specific clearance between the cooking zone and adjacent walls. Always verify local requirements before finalizing your floor plan.
Can you put a kitchen island in a small ADU?
Yes, if the room allows at least 36 inches of clearance on all sides of the island for walkways. In ADUs under 500 square feet, a peninsula often works better because it attaches to a wall and preserves floor space. A rolling butcher-block cart can serve as a flexible island alternative that you move out of the way when not in use.
What is the most efficient kitchen layout for limited square footage?
The galley layout is the most space-efficient for ADUs because it places all appliances and counters along two parallel walls, keeping the work triangle tight. An L-shape is a close second and works well when a door or window breaks up one wall. Both layouts reduce steps between the sink, stove, and refrigerator, which improves workflow in compact kitchens.
What building codes apply to ADU kitchen appliances?
ADU kitchen appliances must meet local electrical and plumbing codes, which typically require dedicated circuits for ranges and refrigerators, GFCI outlets near sinks, and proper ventilation for gas or electric cooking. Some jurisdictions require a range hood that vents outdoors. Your permit-ready drawings should show appliance locations, circuit loads, and ventilation specs so the building department can review them without corrections.